Process
First, ensure that the fence on your sled can be adjusted. Basically, you should be able to remove the fence from the sled. You'll need to leave a screw in one end of your fence, allowing the other end to pivot for adjustments.
You'll need a board to make your five cuts. The board should be close to the maximum size that will fit your sled. The larger the board, the more accurate we can make the sled. The board should be good quality MDF or plywood. We'll need to have nice, smooth edges for our measurements, so your table saw blade should be sharp and clean. The board does not need to be square. It can be rectangular or any shape with 4 sides. However, I recommend using a board that's close to square so it's easy to cut and handle. The sides of the board should be flat. If a side is bowed out, it could rock when held againt the fence leading to inaccurate results.
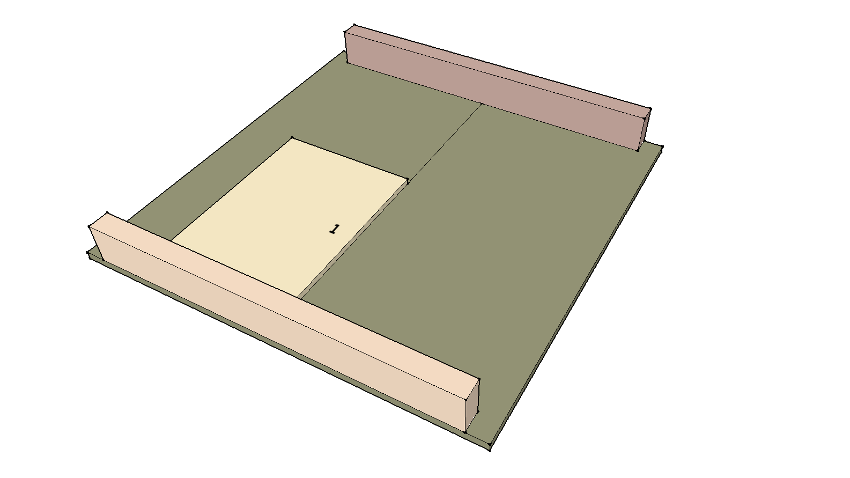
The first cut.
Start by marking one side of the board with a number 1, so you know what side you've started with. Starting with the longest side will yield more accurate results. Make your first cut on the side you marked. You must cut the entire length of the side.
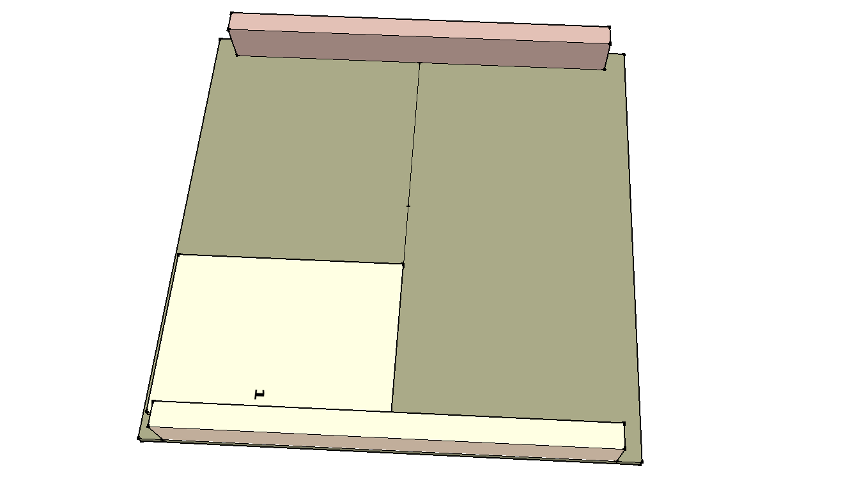
The second cut.
Rotate the board 90% clockwise and make your second cut.
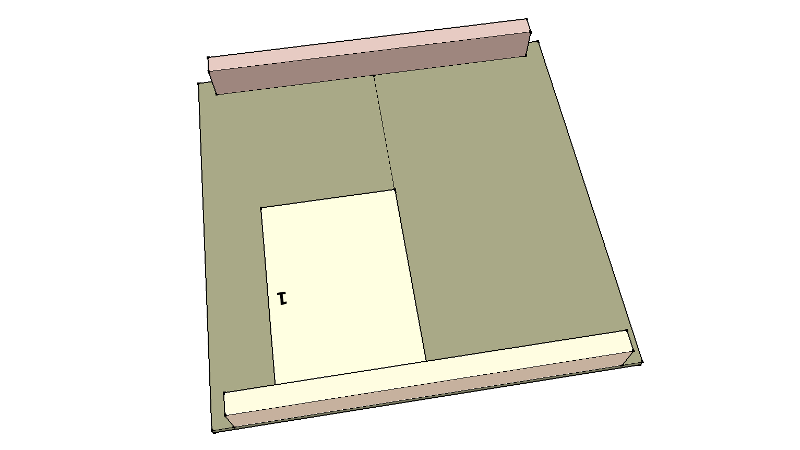
The third cut.
Rotate the board 90% clockwise and make your third cut.
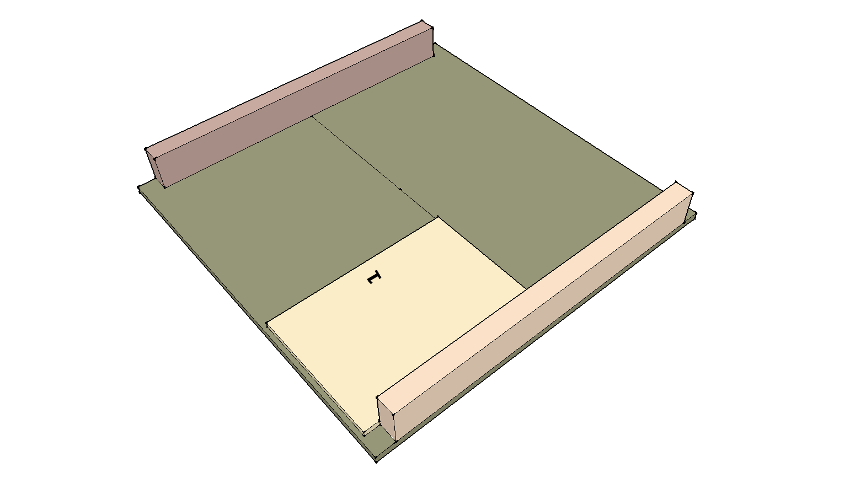
The fourth cut.
Rotate the board 90% clockwise and make your fourth cut.
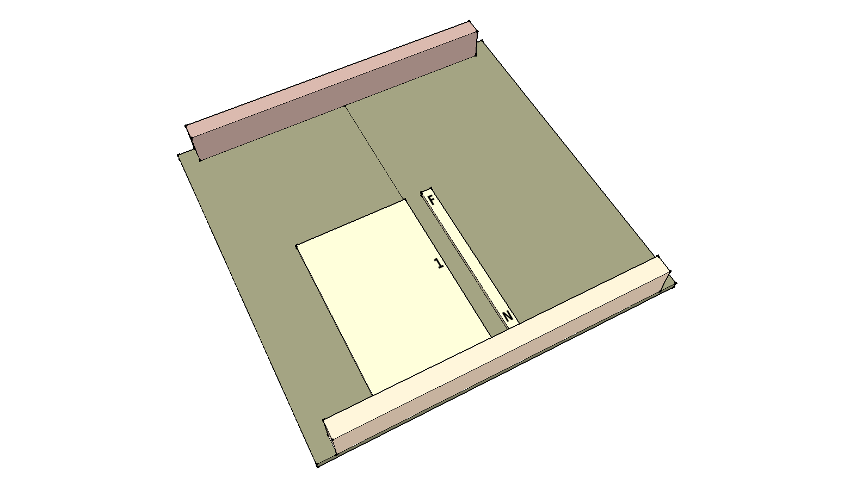
The fifth cut with scrap piece.
Rotate the board 90% clockwise. Before you make the fifth cut, keep in mind that we'll need to measure the width of the next scrap piece that we cut, so make it a comfortable width for your calipers. Usually about 1" is fine. We'll also need to mark the forward and rear ends of the scrap piece. So mark the far end (the end farthest from you) with a "F" and the near end with a "N". Make the fifth cut.
Now it's time to measure the scrap piece we just cut. Measure it's width at the far end (marked with a "F") then measure the near end (marked with a "N"). Also measure the length of the scrap piece. The last measurement we need is the distance from the screw that the fence will pivot on to the other end of the fence where the adjust will be made (represented by the red line shown in the image below).
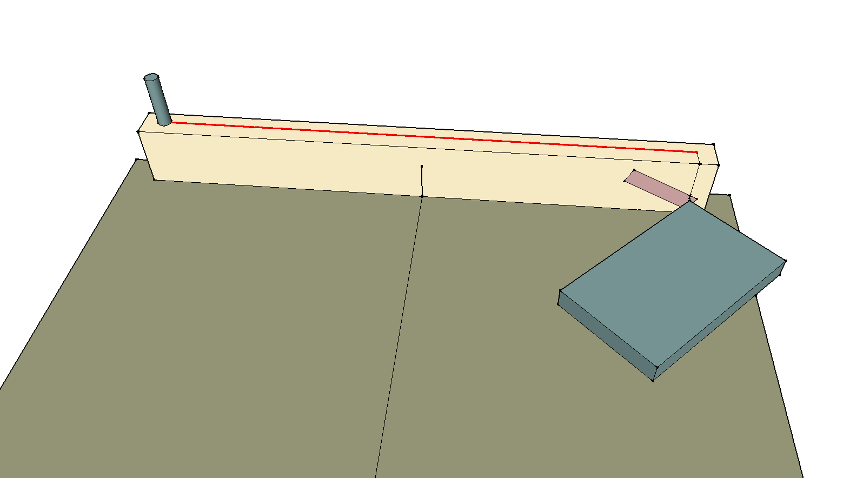
Distance between pivot and adjustment (red line).
Put the measurements into my calculator (below). If you haven't measured the fence pivot length yet, just skip it for now, we'll be measuring it soon. Use the same units for all measurements. Don't mix inches and feet. The calculator will tell you the amount of error in the position of the fence.
If the number is positive, then you'll need to pivot the fence toward you (away from the blade). If the error is a negative number, then you'll need to pivot the fence away from you (closer to the blade).
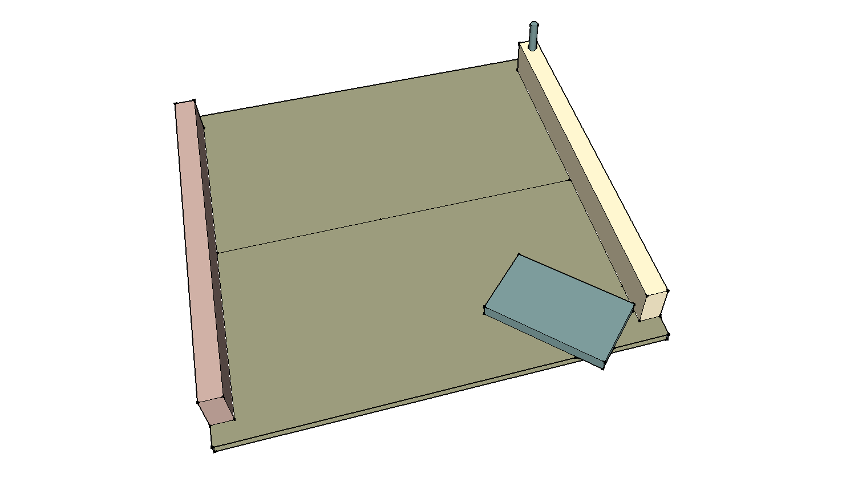
The pivot point (top) and adjustment board (bottom).
To make the fence pivot adjustment, get a board (I'll call it the "adjustment board") with a good corner and follow these steps:
To pivot the fence toward you (calculated error is positive)...
Clamp the adjustment board to the sled orientated so that it's corner is gently touching the fence. The adjustment board needs to be on the end of the fence away from the pivot screw. Next, unscrew all the screws holding the fence to the sled - except one pivot screw at one end of the fence. Select your feeler gauge equal to the the amount of calculated error, place it between the fence and the corner of the adjustment board. Pushing the feeler gauge in between the fence and adjustment board should pivot the fence toward you. Clamp the fence to the sled. The feeler gauge should slide between the fence and the adjustment board with just a little bit of friction, if not, adjust the fence and re-clamp it. Remove the feeler gauge and secure the fence in place. Be sure to use new screw holes.
To pivot the fence away from you (calculated error is negative)...
Select your feeler gauge equal to the the amount of calculated error. Place it against the fence. Clamp the adjustment board to the sled orientated so that it's corner is gently holding the feeler gauge against the fence. The feeler gauge should slide between the fence and the adjustment board with just a little bit of friction, if not, re-position the adjustment board and re-clamp it. Remove the feeler gauge and unscrew all the screws holding the fence to the sled - except one pivot screw at one end of the fence. Pivot the fence so that it gently touches the corner of the adjustment board. Clamp the fence down and secure it in place. Be sure to use new screw holes.
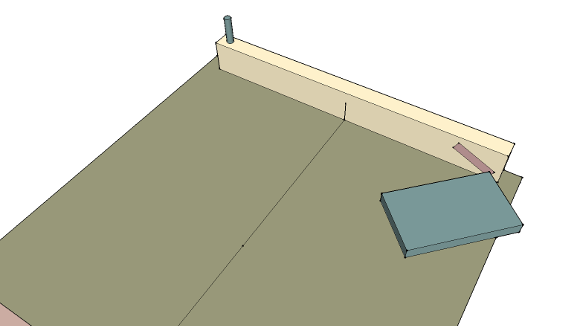
Feeler gauge between fence and adjustment board.
Your sled should now be properly adjusted for maximum accuracy. To verify it's accuracy, run through the 5-cut method again.
Example
From William Ng's video...
Scrap Width At Far End = 0.896"
Scrap Width At Near End = 0.842"
Scrap Length = 24"
Fence Width From Pivot To Adjustment Board = 28.5"
The calculated error is 0.016". The number is positive so the fence will need to pivot toward you.